Small Chocolate Cake Recipe: 5 Easy Steps to Bliss
Have you ever craved a warm, gooey slice of chocolate cake but thought it was too much work—or too indulgent—to make just for yourself? What if I told you that whipping up your very own small chocolate cake is not only possible but also incredibly easy and quick? Whether you’re treating yourself after a long day or surprising someone special with a mini dessert, this recipe will have you savoring every bite without the guilt or hassle. Let’s dive into how you can create bliss in just five simple steps!
This Small Chocolate Cake Recipe is designed for those moments when you want something sweet but don’t need an entire tray of leftovers staring back at you from the fridge. Perfect for one or two servings, this recipe takes about 30 minutes total, including prep time. The best part? It’s super beginner-friendly, so even if you’ve never baked before, you’ll feel like a pro by the end. With its rich cocoa flavor and soft texture, this little cake is sure to become your go-to comfort food.
Table of Contents
Essential Ingredients
Here’s what you’ll need to whip up this decadent treat:
- All-purpose flour (¼ cup): Provides structure to your cake. If you’re gluten-free, almond flour or oat flour works as a substitute.
- Cocoa powder (2 tablespoons): The star ingredient! Use unsweetened cocoa for deep chocolate flavor.
- Sugar (2 tablespoons): Adds sweetness. You can swap white sugar for brown sugar for a richer taste or use honey/maple syrup for a natural twist.
- Baking powder (½ teaspoon): Helps the cake rise beautifully.
- Salt (a pinch): Balances the sweetness and enhances other flavors.
- Milk (2 tablespoons): Makes the batter moist. Any milk—dairy, almond, soy—works fine!
- Oil (1 tablespoon): Adds moisture and richness. Coconut oil or melted butter are great alternatives.
- Vanilla extract (½ teaspoon): Elevates the overall flavor profile.
- Water (1 tablespoon): Adjusts consistency; optional depending on desired thickness.
Why These Ingredients Matter
Each component plays a role in creating the perfect balance of sweetness, moisture, and chocolatey goodness. Don’t worry if you don’t have all these exact items—there are plenty of substitutions available to suit dietary preferences or pantry limitations.
Step-by-Step Instructions
Now comes the fun part—making your cake! Follow these easy steps:
Step 1: Mix Dry Ingredients
In a small bowl, combine the flour, cocoa powder, sugar, baking powder, and salt. Whisk them together until there are no lumps. This ensures even distribution of flavors throughout your cake.
Pro Tip: Sift the cocoa powder and flour to avoid clumps and get a smoother batter.
Step 2: Add Wet Ingredients
Pour in the milk, oil, vanilla extract, and water. Stir gently with a spoon or whisk until everything is well combined. Your batter should be smooth and slightly thick but pourable.
Pro Tip: For extra richness, add a splash of coffee instead of water—it intensifies the chocolate flavor without making the cake taste like coffee.
Step 3: Choose Your Pan
For a single-serving cake, use a ramekin, mug, or small oven-safe dish. Lightly grease it with oil or spray to prevent sticking. Pour the batter into your chosen vessel.
Pro Tip: If you’re feeling fancy, sprinkle some chocolate chips or chopped nuts on top for added texture.
Step 4: Bake or Microwave
You have two options here:
- Oven Method: Preheat your oven to 350°F (175°C). Bake for 15–20 minutes, or until a toothpick inserted in the center comes out clean.
- Microwave Method: Zap your cake for 60–90 seconds. Check frequently to avoid overcooking.
Pro Tip: Microwaving is faster but may result in a denser cake. Baking gives a fluffier texture.
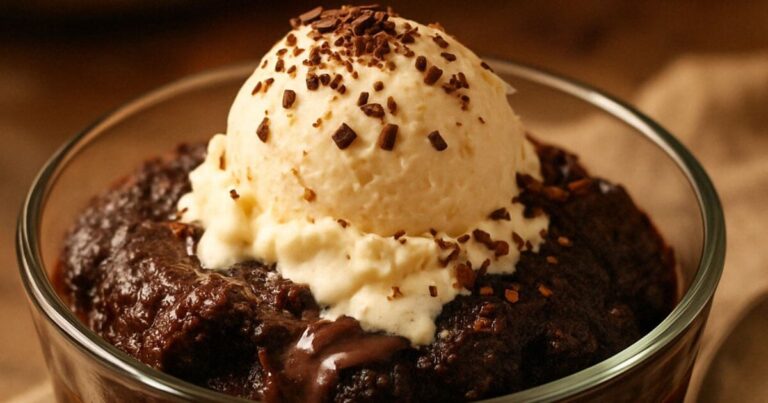
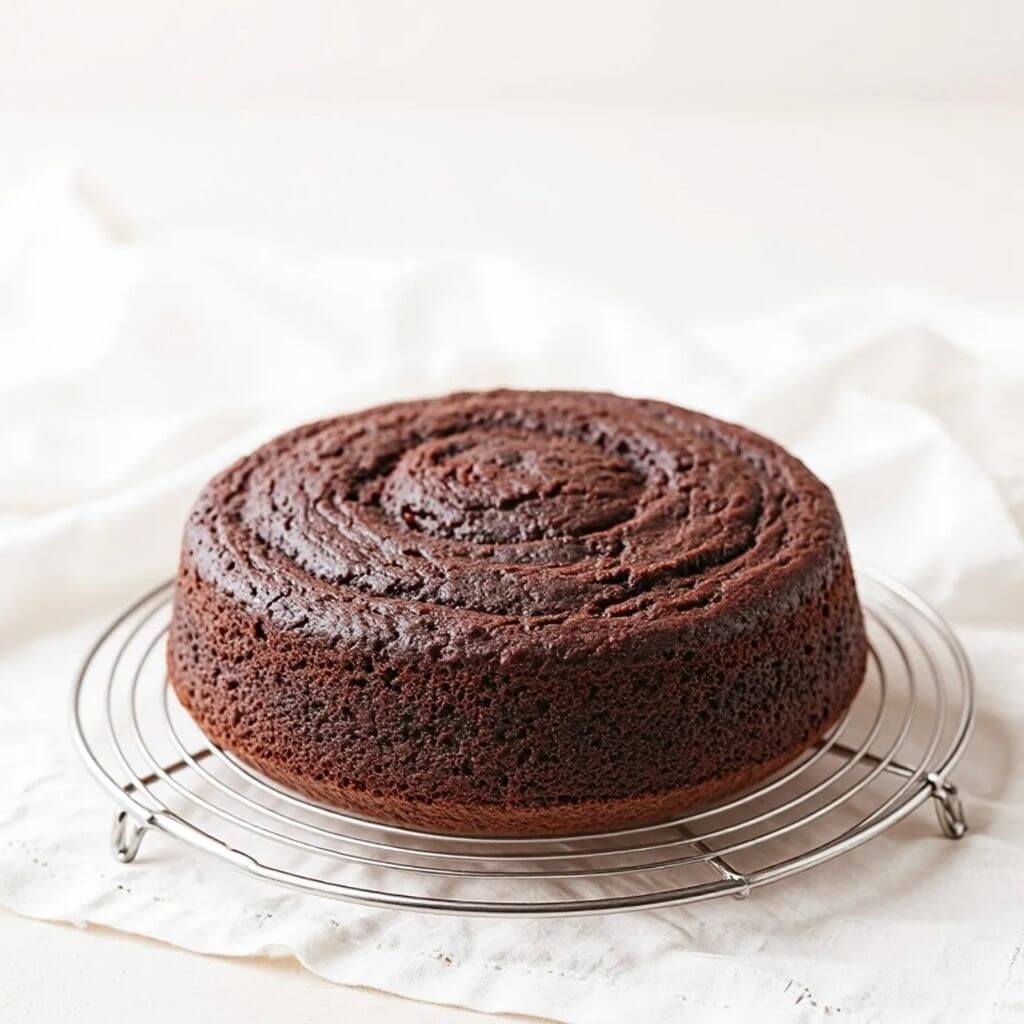
Step 5: Cool and Enjoy
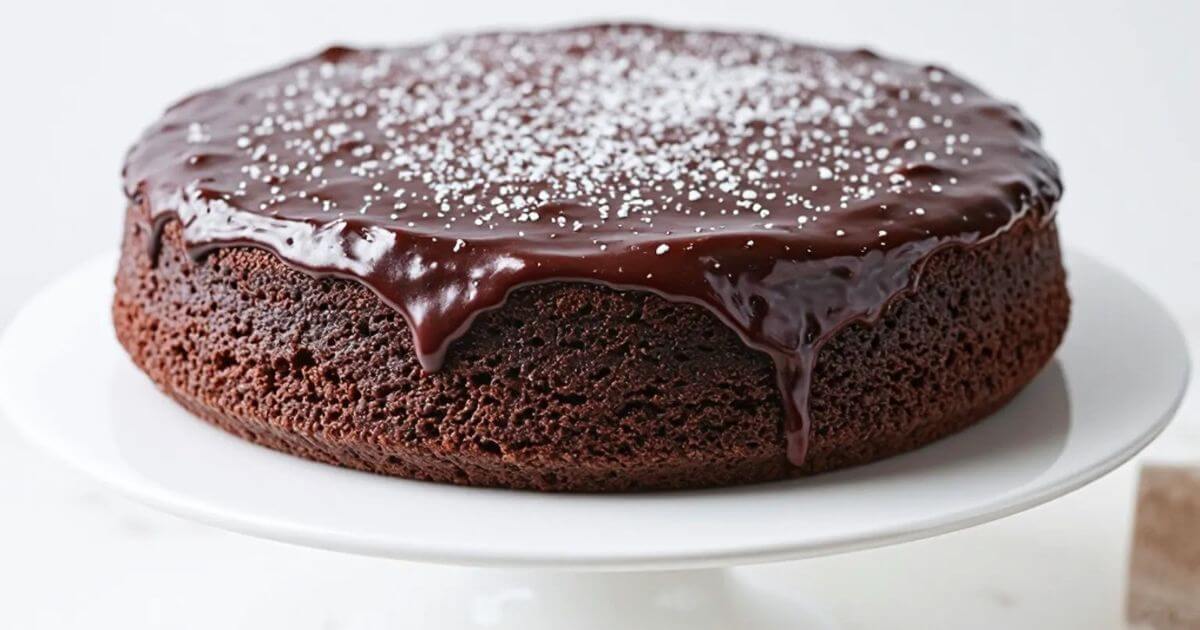
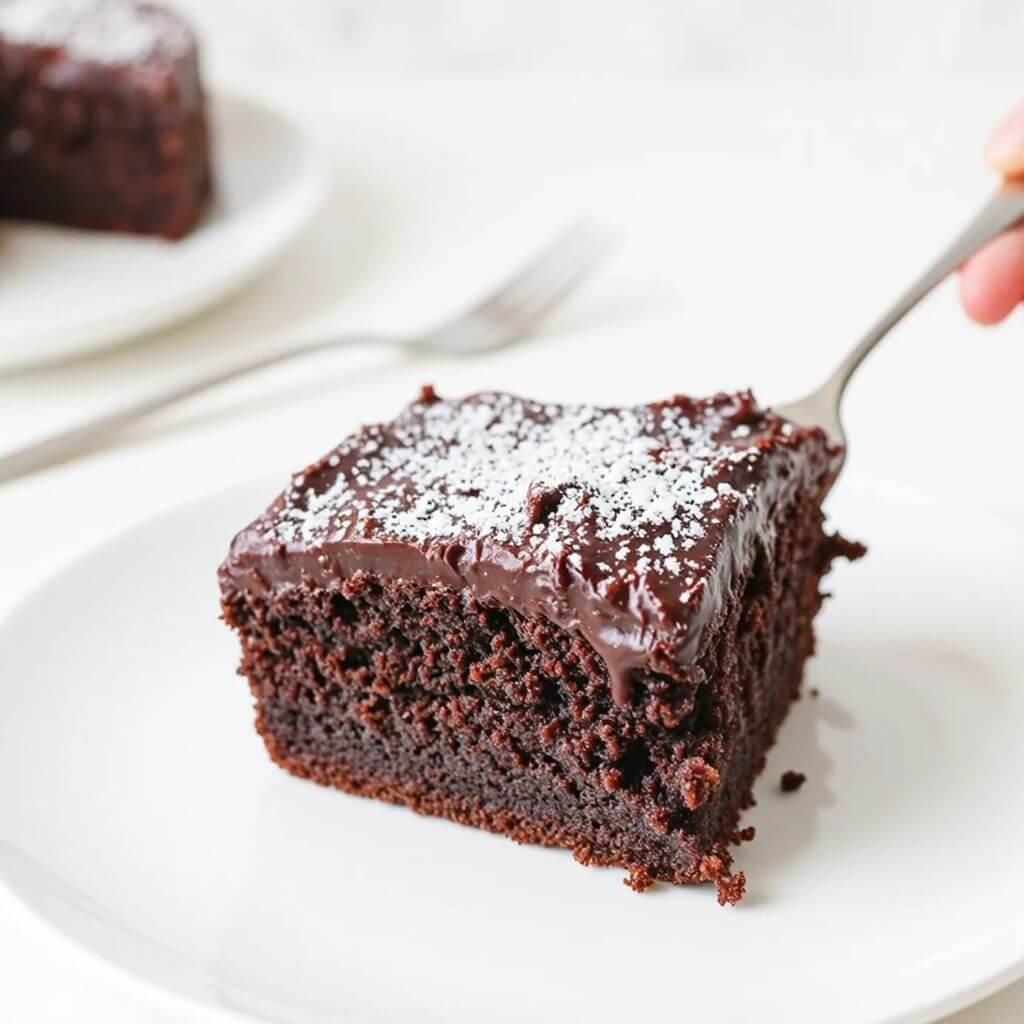
Let your cake cool for a minute or two, then dig in! Top it with whipped cream, ice cream, organache or fresh fruit for a restaurant-worthy presentation.
Assembly
Assembling this cake couldn’t be simpler since it’s essentially a one-bowl wonder. However, if you’d like to take it up a notch, consider layering it with frosting or drizzling melted chocolate over the top. Here’s how to assemble and present it beautifully:
- Layer Wisely: If doubling the recipe, stack two cakes with frosting in between for a mini layered cake.
- Garnish Creatively: Dust powdered sugar, sprinkle crushed cookies, or add edible flowers for visual appeal.
- Serve Warm: A warm slice pairs perfectly with cold vanilla ice cream—a match made in heaven!
Storage and Make-Ahead Tips
Since this recipe yields a small portion, leftovers aren’t usually an issue. But if you do happen to save some:
- Keep any leftover cake in an airtight container at room temperature for up to two days..
- To reheat, pop it in the microwave for 10–15 seconds or warm it in the oven at 300°F (150°C) for a few minutes.
If you’d like to prep ahead, mix the dry ingredients beforehand and store them in a jar. When you’re ready to bake, simply add the wet ingredients and follow the instructions.
Recipe Variations
Why stick to plain chocolate when you can experiment? Try these creative twists:
- Peanut Butter Lover’s Delight: Swirl peanut butter into the batter or spread it on top after baking.
- Spiced Chocolate Cake: Add a dash of cinnamon or chili powder for a kick.
- Vegan Version: Substitute eggs with applesauce and use plant-based milk and oil.
- Gluten-Free Option: Swap regular flour for almond flour or a gluten-free blend.
Feel free to mix and match based on your mood or dietary needs. The possibilities are endless!
Conclusion
There you have it—a foolproof guide to making a Small Chocolate Cake Recipe that’s quick, delicious, and oh-so-satisfying. Whether you’re baking solo or sharing with a loved one, this recipe proves that good things really do come in small packages. So grab your ingredients, roll up your sleeves, and let the aroma of freshly baked chocolate fill your kitchen. Remember, cooking is all about experimentation, so don’t be afraid to tweak the recipe to make it uniquely yours. Happy baking!
FAQs
Q: Can I double this recipe?
Absolutely! Just multiply each ingredient by two and adjust the baking time accordingly.
Q: Is this recipe healthy?
While it’s still a treat, using dark cocoa powder and natural sweeteners makes it slightly healthier than store-bought alternatives. Plus, it’s portion-controlled!
Q: Can I freeze this cake?
Yes! Wrap it tightly in plastic wrap and freeze for up to a month. Thaw at room temperature before enjoying.
Q: What’s the best way to tell if my cake is done?
Insert a toothpick into the center. If it comes out clean or with a few crumbs (but no wet batter), it’s ready!
Q: Can I use egg replacers?
Definitely! Flaxseed meal mixed with water or commercial egg replacers work well for vegan versions.