Simple Cherry Tart Recipe
Summer is the time when cherries burst with flavor. They turn simple desserts into magical experiences. Your perfect cherry tart recipe is here, a delightful summer treat that’s easy to make.
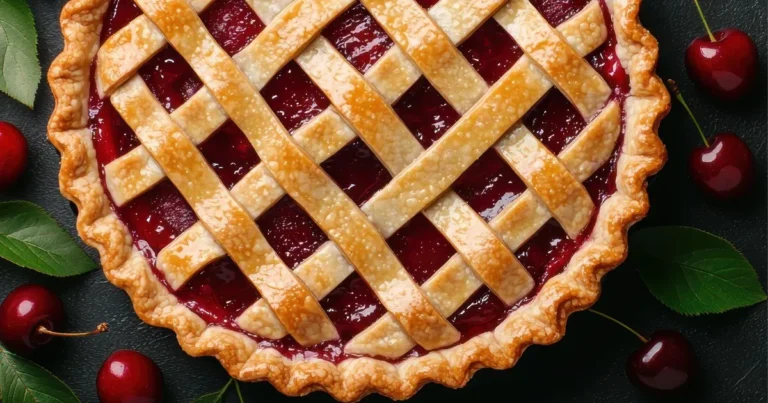
Imagine pulling a golden, buttery crust from the oven. It’s filled with ruby-red cherries that shine like jewels. This simple cherry tart is more than a recipe; it’s a summer celebration. It’s perfect for both seasoned bakers and kitchen newbies, bringing joy with every bite.
Cherries mix sweet and tart flavors, making this summer recipe a hit. With a few quality ingredients and simple steps, you’ll make a dessert that looks like it came from a pro but feels homemade.
Table of Contents
Essential Ingredients for Your Cherry Tart
Making a delicious fruit tart begins with picking the right ingredients. Your tart will be amazing if you choose each part carefully. This includes the ripest cherries and the softest pastry dough.
Selecting the Perfect Cherries
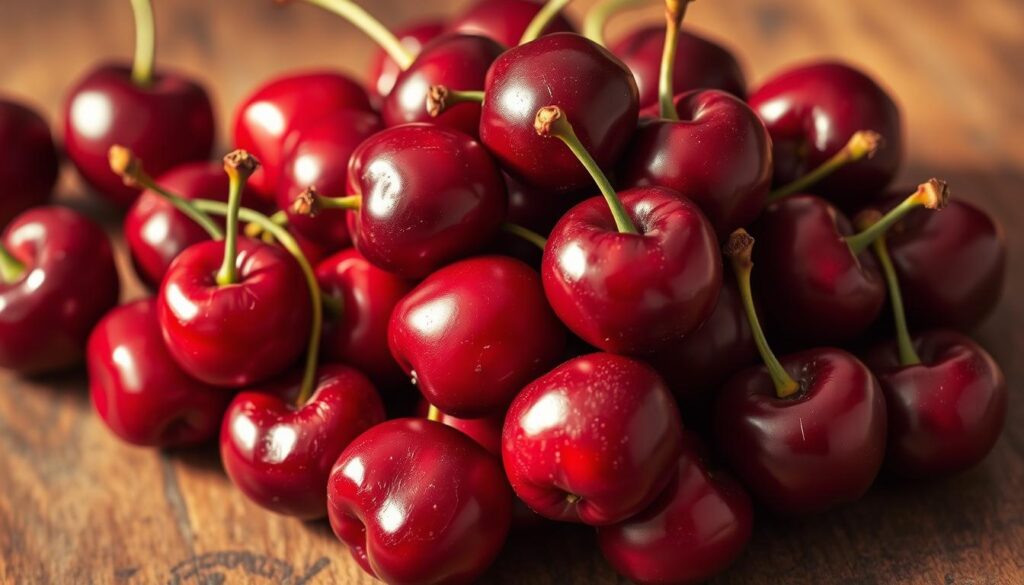
The heart of your tart is the quality of the fruit. Look for cherries that are:
- Plump and firm
- Deep red or dark burgundy color
- Free from bruises or soft spots
- Freshly picked if possible
When you prepare the cherries, make sure they are clean and dry. Sweet cherries are best for desserts. They add a rich flavor that makes your tart special.
Butter Crust Components
A great butter crust needs quality and precision. Your dough needs:
- Cold unsalted butter
- All-purpose flour
- A pinch of salt
- Ice-cold water
Additional Filling Ingredients
To make your tart even better, add these ingredients:
- Granulated sugar
- Cornstarch (for thickening)
- Fresh lemon juice
- Vanilla extract
Every ingredient is important for a tasty cherry tart. It will impress your guests and satisfy your sweet tooth.
Step-by-Step Cherry Tart Recipe
Making a perfect cherry tart needs patience and care. This sweet treat will boost your baking skills and wow your guests. Let’s explore how to make a delicious cherry tart step by step.
First, you’ll make the butter crust. Start by getting your ingredients ready and keeping them cold. Cold butter and ice-cold water are essential for a flaky crust.
- Mix flour and salt in a large bowl
- Cut cold butter into small cubes
- Blend butter into flour using a pastry cutter
- Add ice water gradually until dough forms
- Wrap and refrigerate for 1 hour
Next, prepare your cherries. Pick fresh, ripe cherries. Pit them carefully to keep their shape. A cherry pitter makes this step quick and simple.
- Select ripe, firm cherries
- Wash and pat dry thoroughly
- Remove stems and pit carefully
- Slice cherries if desired for filling
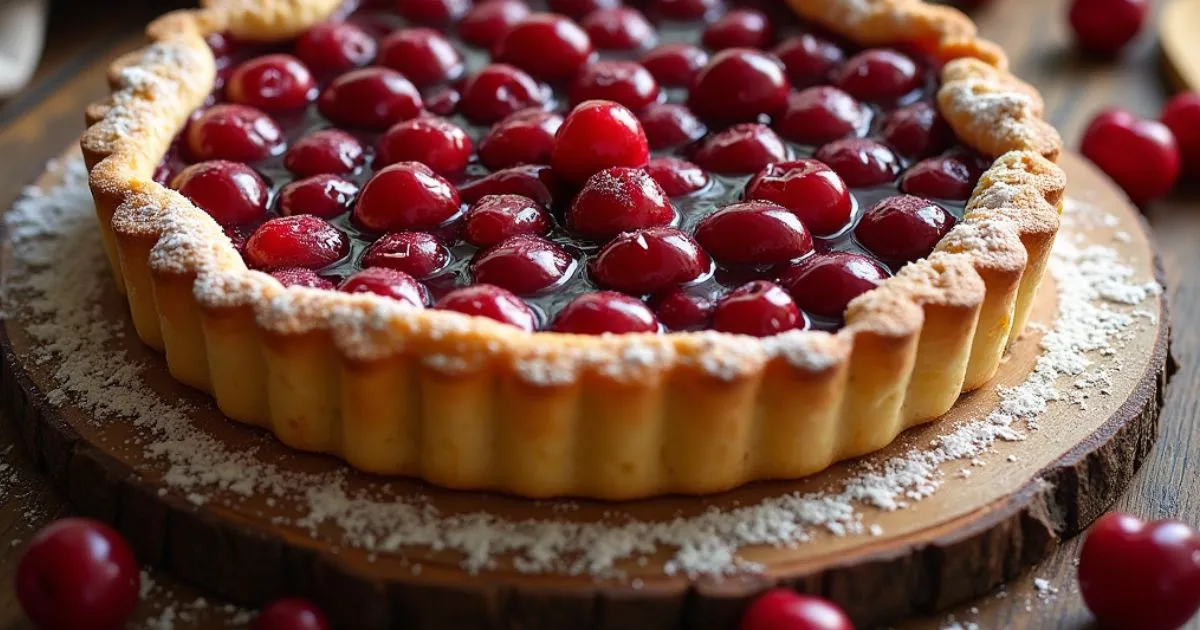
Roll out the dough and place it in a tart pan. Press it into the edges and trim the excess. Pro tip: Blind bake the crust for a crisp bottom! Arrange your cherries in a pattern, sprinkle with sugar, and bake.
Bake your tart at 375°F for 40-45 minutes. Look for a golden crust and bubbling cherries. Let it cool completely before serving for the best taste.
Tips for Making the Perfect Butter Crust
Making a perfect butter crust is all about precision and knowing how to work with pastry dough. It’s an art that turns a simple dessert into a memorable culinary experience.
To master butter crust, you need to pay close attention to detail. A few key techniques can take your pastry from good to great.
Working with Cold Ingredients
Temperature is key to a flaky butter crust. Cold ingredients are essential for making the dough. Here’s what to do:
- Refrigerate butter for at least 30 minutes before mixing
- Use ice-cold water when incorporating liquid
- Keep all ingredients and mixing tools chilled
“Cold ingredients create steam pockets, which result in a perfectly layered, flaky crust.” – Professional Pastry Chef
Achieving the Right Texture
The texture of your butter crust depends on how little you handle it. Too much handling can make the crust tough. You want it to feel crumbly, like sand.
Proper Blind Baking Methods
Blind baking helps avoid soggy bottoms in your tart. Here’s how to do it:
- Chill the rolled-out crust for 15 minutes
- Line with parchment paper
- Fill with pie weights or dried beans
- Bake at 375°F for 15-20 minutes
With practice, you’ll make butter crusts that are always delicious and look like they were made by a pro.
Serving and Storage Suggestions
Your homemade cherry tarts need special care when serving and storing. These sweet treats can become unforgettable with the right touch.
Temperature is key when serving cherry tarts. Serve them at room temperature or slightly warm. This brings out the cherries’ rich flavors. The right presentation can make your dessert stand out.
- Serve within 2-3 hours of baking for optimal taste
- Pair with vanilla ice cream or fresh whipped cream
- Cut precise, clean slices using a sharp knife
For storage, use the right methods to keep your tarts fresh. Store them in an airtight container in the fridge. This keeps the crust crisp and prevents moisture. Cherry tarts can stay fresh in the fridge for 3-4 days.
Reheating tip: Warm a leftover tart in the oven at 300°F for 10 minutes. This brings back the tart’s crisp crust and the cherry filling’s flavor.
Pro tip: Always let your cherry tart cool completely before storing. This prevents condensation that can make the crust soggy.
Variations on the Classic Cherry Tart
Trying new twists on the classic cherry tart can make your dessert stand out. Cherry pie tartlets are a great choice for a unique dessert. They offer individual servings that are both elegant and tasty.
When you’re playing with your tart cherry recipe, think about these fun changes:
- Mini Cherry Tartlets: Make small desserts in a mini muffin tin. They’re great for parties and gatherings.
- Flavor Combinations: Add ingredients that go well with cherries like:
- Almond extract
- Vanilla bean
- Lemon zest
- Crust Alternatives: Try different crusts instead of traditional pastry with:
- Graham cracker crust
- Nutty shortbread base
- Chocolate cookie crust
If you like a tangier taste, use sour cherries instead of sweet ones. This makes your tart more complex and fancy. Just adjust the sugar to balance the tartness for a perfect tartlets experience.
Pro tip: Always choose fresh, high-quality cherries for the most vibrant and authentic flavor in your tart.
Whether you’re having a dinner party or just want to treat yourself, these changes will make your cherry tart special.
Pairing Your Cherry Tart
Enhancing your cherry tart experience is more than just serving a tasty dessert. The perfect pairings can turn this sweet treat into a memorable culinary adventure. It will delight your taste buds and impress your guests.
When choosing drinks to go with your cherry tart, consider these classic options:
- Coffee: Rich espresso or smooth cappuccino balances the tart’s sweetness
- Tea: Light herbal or black teas enhance the tart’s delicate flavors
Exploring flavor combinations can greatly enhance your cherry tart. Try these delicious matches:
- Chocolate: Dark or milk chocolate adds depth to the cherry flavor
- Almond: Nutty undertones beautifully complement the sweet treats
- Vanilla ice cream: A classic pairing that provides creamy contrast
To create a sophisticated dessert spread, arrange your cherry tart as the centerpiece. Mix textures and flavors for an enticing display. This will surely wow your dinner guests.
Pro tip: Serve your cherry tart slightly warm to maximize its aromatic qualities and enhance the overall dessert experience.
Conclusion
Making the perfect cherry tart is more than a summer recipe. It’s a chance to improve your baking and make a tasty dessert. This recipe turns fresh cherries into a treat that will wow your family and friends.
As you bake this dessert, remember that practice is key. Each time, you’ll get better and feel more confident in the kitchen. You can also try different fruits, spices, or crusts to make it your own.
Baking is about joy, creativity, and sharing good times with others. Your cherry tart is more than a dessert. It’s a celebration of the season, your skills, and the joy of making something special. So, get ready to bake and enjoy making this classic summer dessert.
FAQ
How do I choose the best cherries for my tart?
Choose cherries that are ripe and firm. They should have a deep, rich color. Sweet cherries like Bing or Rainier are best for desserts.
Avoid cherries that are soft, bruised, or have brown spots. If fresh cherries are out of season, use high-quality frozen cherries instead.
Can I make the tart crust ahead of time?
Yes, you can make the butter crust dough up to 2 days in advance. Wrap it tightly in plastic wrap and store it in the fridge. You can also freeze it for up to 1 month.
Just thaw it in the fridge overnight before using.
What if I don’t have a cherry pitter?
No problem! Use a paperclip, a chopstick, or a small knife to remove the pits. If you make tarts often, a cherry pitter can save time.
How can I prevent my tart crust from becoming soggy?
Blind baking is key. Prebake your crust with pie weights or dried beans for about 15 minutes before adding the cherry filling. This keeps the crust crisp and flaky.
Can I use a different type of fruit in this recipe?
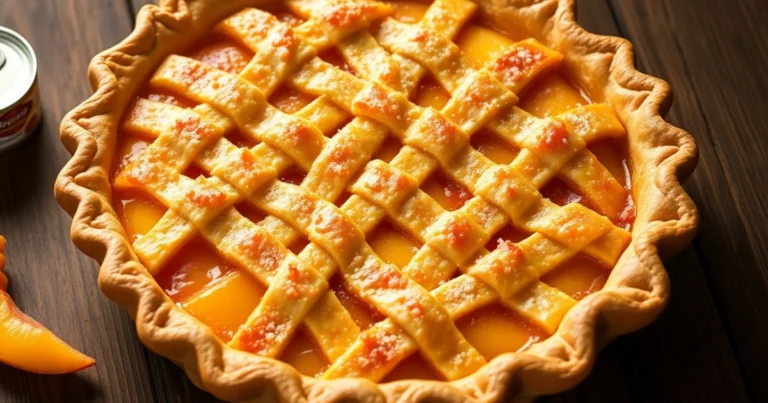
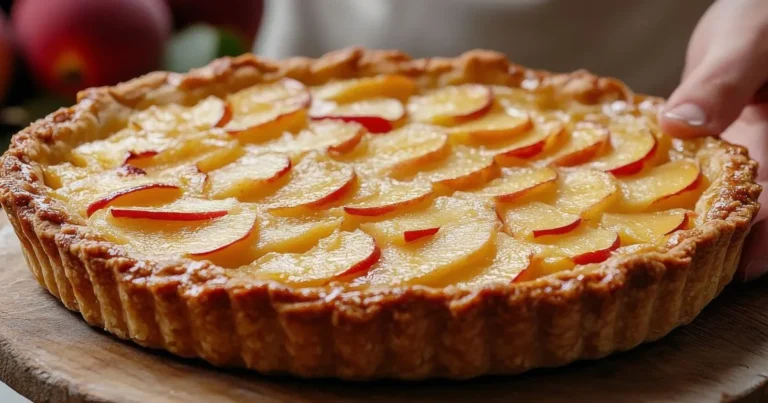
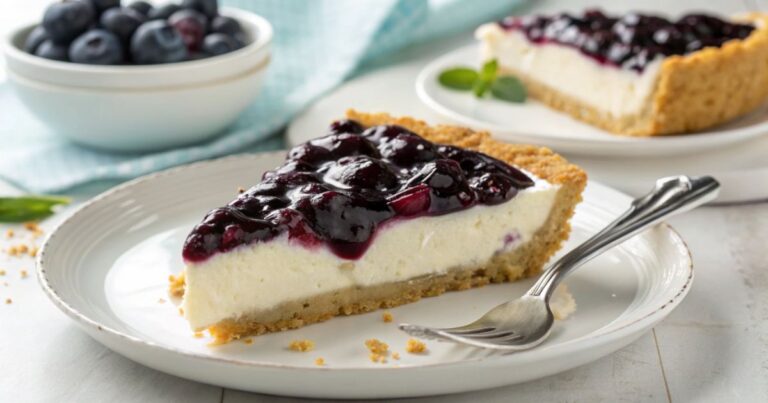
Absolutely! This recipe works well with many fruits like blueberries, peaches, or raspberries. Just adjust the sugar slightly based on the fruit’s sweetness.
How long will the cherry tart stay fresh?
Store it in an airtight container in the fridge for 3-4 days. For the best taste and texture, let it come to room temperature before serving.
Can I make this recipe gluten-free?
Yes! Use a gluten-free flour blend designed for pastry. Look for blends with xanthan gum for the best texture. You might need to experiment to get the perfect crust.
What’s the best way to serve the cherry tart?
Serve it slightly warm or at room temperature. A dollop of whipped cream or a scoop of vanilla ice cream is great. Dust the top with powdered sugar just before serving for an extra touch.