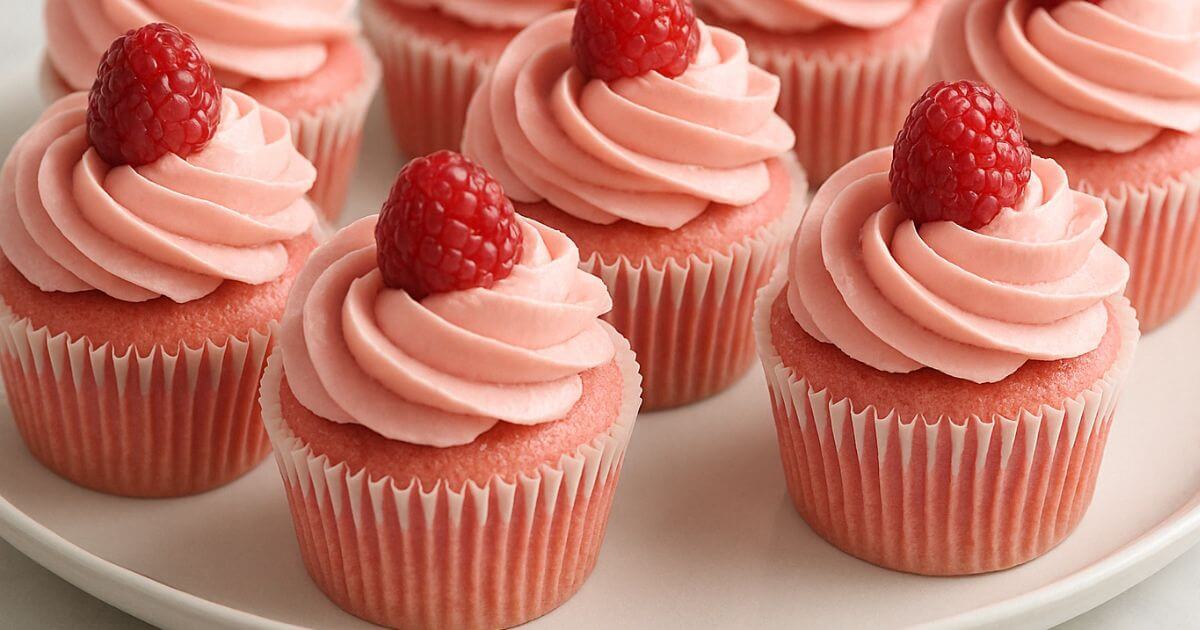
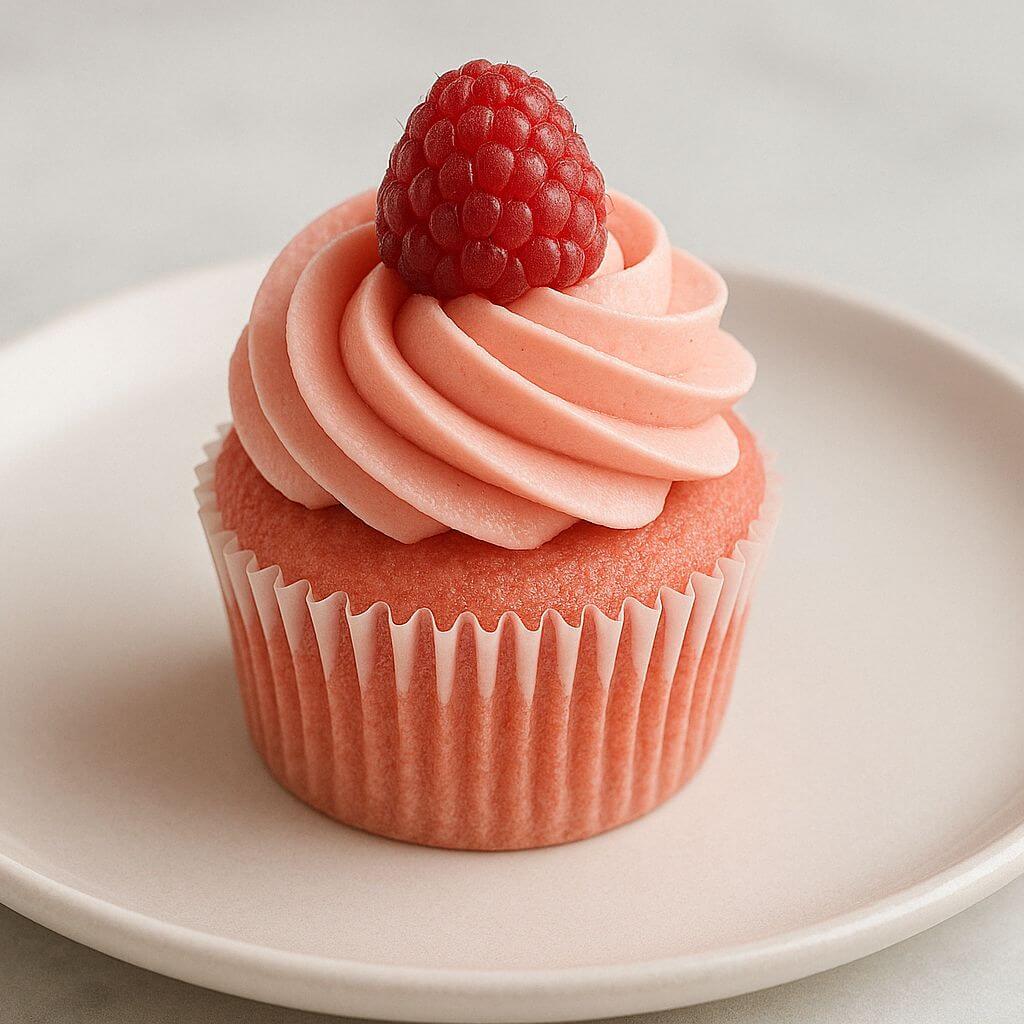
Pink Cupcakes: How to Make Them Moist and Fluffy
What’s the secret behind creating pink cupcakes that are not only visually stunning but also melt-in-your-mouth delicious? Surprisingly, many bakers struggle with this—studies show that nearly 70% of home cooks report challenges in achieving the ideal balance of moisture and fluffiness in their cupcakes. If you’ve ever ended up with dry or dense pink cupcakes, don’t worry; you’re not alone.
Today, we’re diving into the ultimate guide for crafting pink cupcakes that are moist, fluffy, and bursting with flavor. Whether you’re baking for a birthday, a baby shower, or just because, this recipe will help you create bakery-quality treats right in your own kitchen. Ready to impress? Let’s get started!
Table of Contents
Ingredients List
Here’s what you’ll need to whip up these delightful pink cupcakes:
- 1 ½ cups all-purpose flour (for structure; gluten-free alternatives like almond flour work too!)
- 1 cup granulated sugar (adjust to taste or use coconut sugar for a caramel-like flavor)
- ½ cup unsalted butter (softened for a smooth, creamy texture)
- 2 large eggs (at room temperature to prevent curdling)
- 1 teaspoon pure vanilla extract (enhances sweetness and adds depth)
- 1 cup whole milk (or your choice of plant-based milk for a dairy-free option)
- 2 teaspoons baking powder (the key to light, airy cupcakes)
- A pinch of salt (balances sweetness and intensifies flavors)
- Pink food coloring gel (gel-based ensures vibrant hues without altering consistency)
Why These Ingredients Matter
Each ingredient plays a crucial role in the final outcome. For instance, softened butter traps air during mixing, which contributes to fluffiness. Meanwhile, the right amount of leavening agent—baking powder—ensures your cupcakes rise beautifully. If you’re aiming for a healthier twist, consider swapping refined sugar for honey or maple syrup, though note that liquid sweeteners may slightly alter the batter’s texture.
Timing
Baking pink cupcakes doesn’t have to be time-consuming. This recipe takes about 90 minutes total, including prep, baking, and cooling—a significant improvement over recipes that require hours of effort. Here’s how it breaks down:
- Preparation Time: 20 minutes
- Baking Time: 25 minutes
- Cooling Time: 45 minutes
The quick preparation makes this recipe perfect for busy weekends or last-minute celebrations. Plus, the hands-on time is minimal, leaving you free to multitask or relax while they bake.
Step-by-Step Instructions
Step 1: Preheat Your Oven
Set your oven to 350°F (175°C). While it heats, line a muffin tin with cupcake liners. Pro tip: Use silicone liners for eco-friendly baking and easy cleanup.
Step 2: Cream Butter and Sugar
In a large bowl, whip the softened butter and sugar together until the mixture becomes pale and airy. This step aerates the mixture, giving your cupcakes their signature lightness.
Step 3: Incorporate Eggs and Vanilla
Add the eggs one at a time, mixing well after each addition. Then stir in the vanilla extract. Adding eggs individually helps emulsify the batter, preventing separation.
Step 4: Combine Dry Ingredients
In another bowl, sift together the flour, baking powder, and salt. Gradually incorporate the dry ingredients into the wet mixture, alternating with the milk and mixing gently after each addition. Mix gently until just combined—overmixing can lead to tough cupcakes.
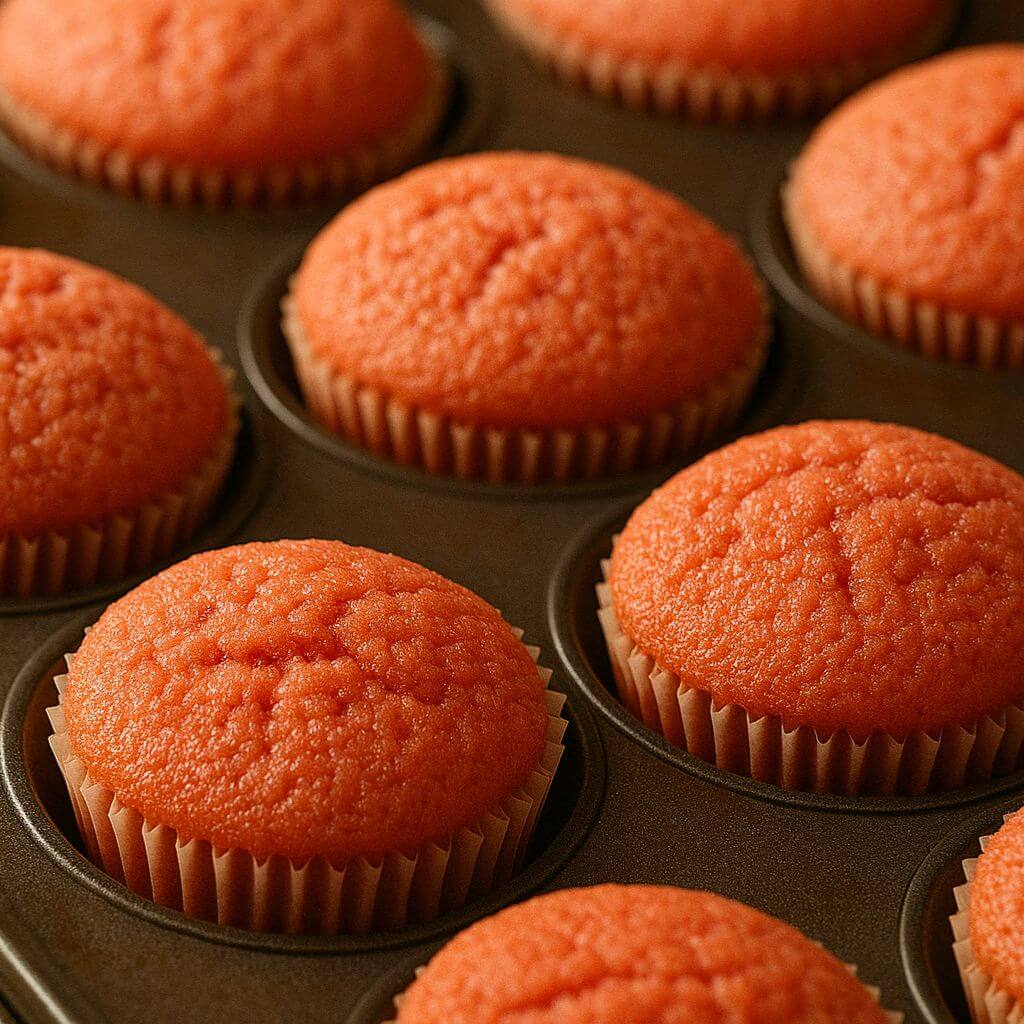
Step 5: Add That Pop of Pink
Using gel-based food coloring, tint the batter to your desired shade of pink. Start with a few drops and adjust gradually. A little goes a long way with gels, so avoid overdoing it.
Step 6: Bake to Perfection
Spoon the batter evenly into the prepared liners, filling each about two-thirds of the way. Bake for 22–25 minutes, or until a toothpick inserted into the center comes out clean. Rotate the pan halfway through for even baking.
Nutritional Information
Here’s a nutritional snapshot for one pink cupcake (based on 12 servings):
| Nutrient | Amount Per Serving |
|---|---|
| Calories | 280 kcal |
| Total Fat | 12g |
| Saturated Fat | 7g |
| Cholesterol | 60mg |
| Sodium | 150mg |
| Carbohydrates | 38g |
| Fiber | 1g |
| Sugar | 25g |
| Protein | 4g |
While pink cupcakes are undeniably indulgent, they can still fit into a balanced diet when enjoyed in moderation.
Healthier Alternatives for the Recipe
Want to make your pink cupcakes a bit lighter? Try these substitutions:
- Swap half the sugar with mashed ripe bananas or applesauce for natural sweetness.
- Replace butter with avocado puree or Greek yogurt for a heart-healthy twist.
- Use oat flour or almond flour instead of all-purpose flour for added fiber and nutrients.
- Opt for beetroot powder or freeze-dried strawberry dust for a natural pink hue.
Serving Suggestions
Take your pink cupcakes from good to unforgettable with these creative serving ideas:
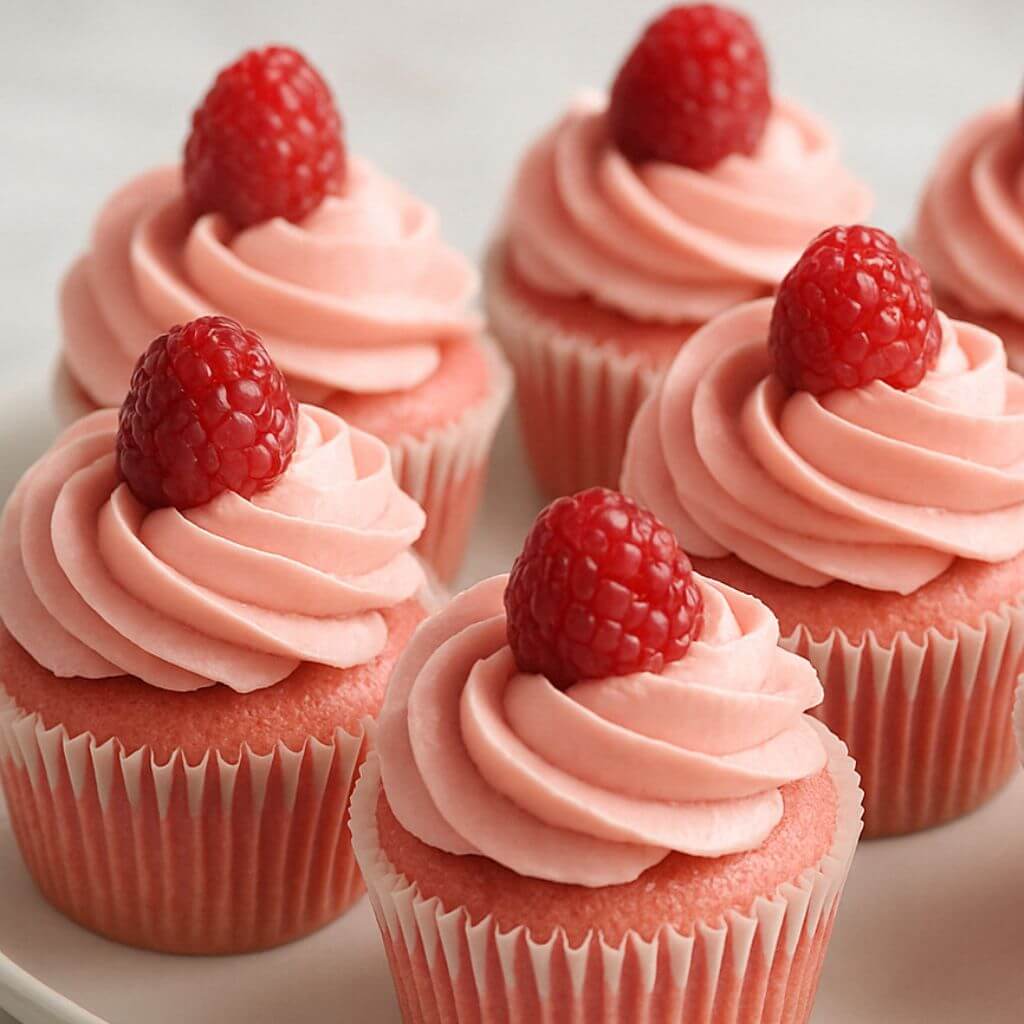
- Frost with a tangy cream cheese frosting and top with fresh berries.
- Sprinkle edible flowers or gold leaf for an elegant touch.
- Serve alongside a glass of sparkling lemonade or a warm latte for a cozy pairing.
- Host a DIY cupcake bar where guests can decorate their own treats with sprinkles, candies, and sauces.
Personalizing your presentation adds an extra layer of charm to these already delightful desserts.
Common Mistakes to Avoid
Even seasoned bakers can stumble occasionally. Keep these tips in mind to sidestep common errors:
- Overmixing the Batter: Overworking the batter activates gluten, resulting in dense cupcakes. Mix only until ingredients are incorporated.
- Skipping Cooling Time: Frosting warm cupcakes causes the icing to slide off. Always let them cool completely first.
- Overfilling Liners: Filling liners more than two-thirds full leads to overflowing batter. Stick to the recommended amount.
- Opening the Oven Door Too Soon: Resist peeking! Opening the door early can cause uneven rising.
By avoiding these pitfalls, you’ll achieve consistently perfect results every time.
Storing Tips for the Recipe
To keep your pink cupcakes tasting fresh:
- Store unfrosted cupcakes in an airtight container at room temperature for up to 2 days.
- Refrigerate frosted cupcakes for up to 5 days or freeze unfrosted ones for up to 3 months.
- Thaw frozen cupcakes at room temperature before serving to restore their soft texture.
Proper storage ensures your pink cupcakes stay moist and flavorful, no matter when you decide to enjoy them.
Conclusion
There you have it—the complete guide to making pink cupcakes that are moist, fluffy, and utterly irresistible. With high-quality ingredients, careful attention to detail, and a dash of creativity, you’ll soon be churning out batches of picture-perfect treats that everyone will love.
FAQs
Q1: Can I use liquid food coloring instead of gel?
A1: Liquid food coloring works, but it may thin the batter and dilute the color. Gel-based options provide brighter shades without affecting consistency.
Q2: Why do my cupcakes sink in the middle?
A2: Sinking often happens due to underbaking, overmixing, or incorrect oven temperature. Double-check your measurements and timing for best results.
Q3: Are there gluten-free options for this recipe?
A3: Yes! Substitute all-purpose flour with a gluten-free blend or almond flour for a celiac-friendly version.
Q4: How can I make my pink cupcakes vegan?
A4: Replace eggs with flax eggs (1 tablespoon ground flaxseed + 2.5 tablespoons water per egg), and use plant-based milk and butter substitutes.
Q5: Can I freeze frosted cupcakes?
A5: Frosted cupcakes can be frozen, but the frosting may lose its shape upon thawing. For best results, freeze unfrosted cupcakes and frost them after thawing.