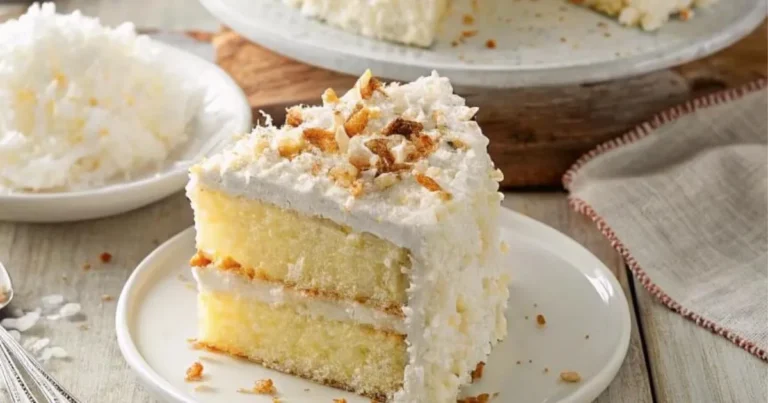
Chocolate Sponge Cake Recipe: 3 Secrets to a Fluffy Delight
Have you ever wondered why some chocolate sponge cakes are so light and airy while others turn out dense and flat? It’s not magic—it’s all about technique, ingredients, and a little bit of know-how. Whether you’re baking for a birthday, a cozy family dinner, or just because, this Chocolate Sponge Cake Recipe will teach you how to create a fluffy delight that everyone will rave about. Ready to unlock the secrets?
This recipe is designed to be simple yet impressive. With just a few key ingredients and three insider tips, you can whip up a cake that’s soft, moist, and bursting with rich chocolate flavor.
- Time Requirement: Prep time is around 20 minutes, and baking takes another 30 minutes—perfect for busy days.
- Difficulty Level: Easy! Even if you’re new to baking, this chocolate sponge cake recipe is forgiving and fun to make.
What sets it apart? The secret lies in balancing airiness with richness, ensuring every bite melts in your mouth. Plus, it’s versatile enough to serve plain, with frosting, or as part of an elaborate dessert creation.
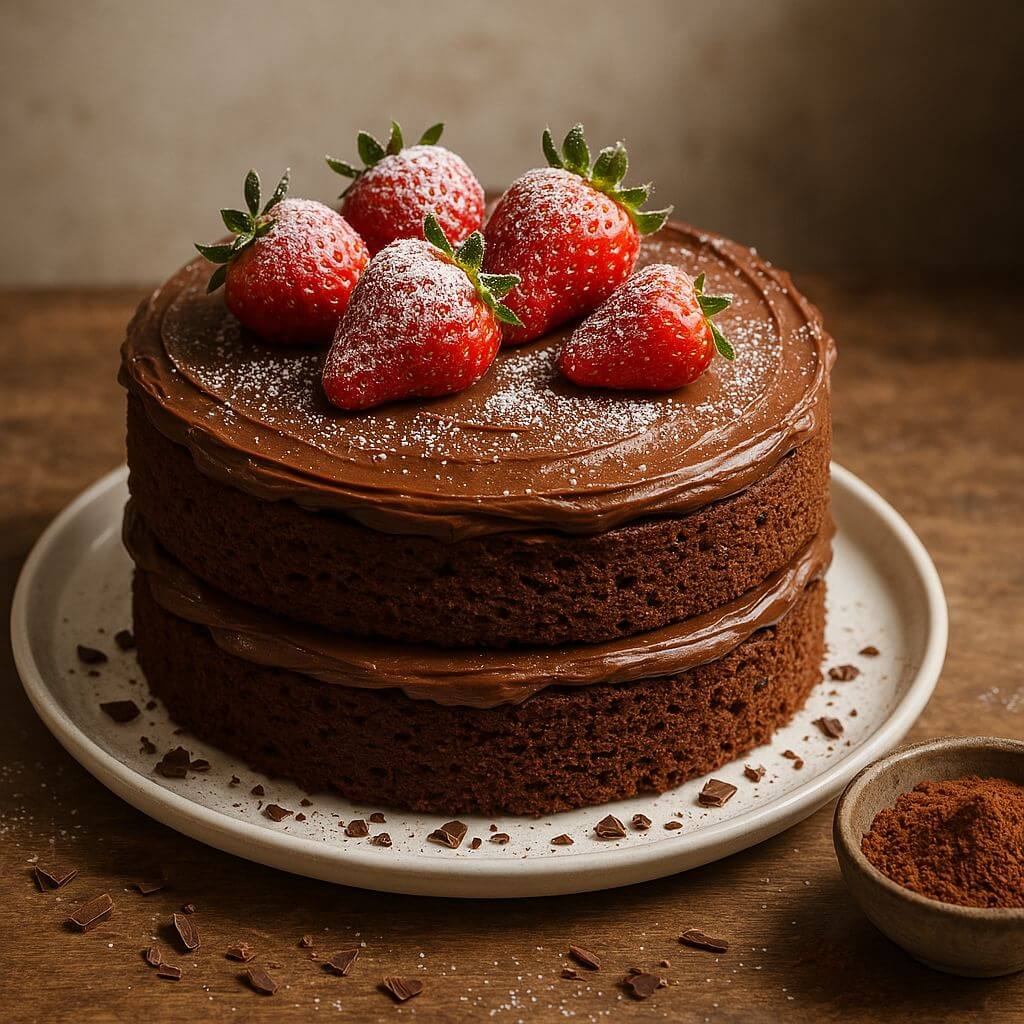
Table of Contents
Essential Ingredients: The Building Blocks of Your Chocolate Masterpiece
Let’s talk about the stars of this Chocolate Sponge Cake Recipe:
- All-Purpose Flour: The foundation of your cake. It provides structure without weighing it down.
- Substitution Tip: For a gluten-free version, use almond flour or a gluten-free blend.
- Cocoa Powder: The heart of your chocolate sponge cake recipe. Use unsweetened cocoa powder for a deep, rich flavor.
- Variation Idea: Swap regular cocoa powder with Dutch-processed cocoa for a smoother taste.
- Eggs: They’re crucial for adding volume and moisture. Be sure to separate the whites and yolks!
- Healthier Option: Replace one egg with ¼ cup of unsweetened applesauce.
- Sugar: Granulated sugar sweetens the batter and helps stabilize the egg whites during whipping.
- Alternative Sweeteners: Try coconut sugar or honey for a natural twist.
- Butter or Oil: Adds tenderness and keeps the cake moist. Melted butter gives a richer flavor, while oil makes it lighter.
- Dairy-Free Swap: Use melted coconut oil or vegetable oil.
- Baking Powder and Baking Soda: These leavening agents ensure your cake rises beautifully.
- Milk (or Plant-Based Milk): Adds creaminess and enhances texture. Any milk works—dairy, almond, soy, or oat!
- Vanilla Extract: A splash elevates the entire Chocolate Sponge Cake Recipe by adding warmth and depth.
Step-by-Step Instructions: How to Bake the Perfect Chocolate Sponge Cake
Follow these steps carefully, and you’ll have a flawless cake every time:
Step 1: Preheat and Prepare
- Preheat your oven to 350°F (175°C).
- Grease two round cake pans (8-inch) and line them with parchment paper for easy removal.
Step 2: Mix Dry Ingredients
- In a bowl, sift together 1½ cups of flour, ¾ cup cocoa powder, 1½ teaspoons baking powder, and ½ teaspoon baking soda. Sifting prevents lumps and aerates the dry mix.
Step 3: Whip Egg Whites
- Separate 4 eggs. Beat the whites until frothy, then gradually add ½ cup of sugar. Continue beating until stiff peaks form. This step is KEY to achieving a light, airy texture.
Step 4: Combine Wet Ingredients
- In another bowl, whisk together the egg yolks, ½ cup sugar, ½ cup melted butter (or oil), 1 teaspoon vanilla extract, and 1 cup milk. Blend until smooth.
Step 5: Fold Everything Together
- Gently fold the wet mixture into the dry ingredients using a spatula. Avoid overmixing, which can deflate the batter.
- Finally, fold in the whipped egg whites in three parts. This ensures maximum fluffiness.
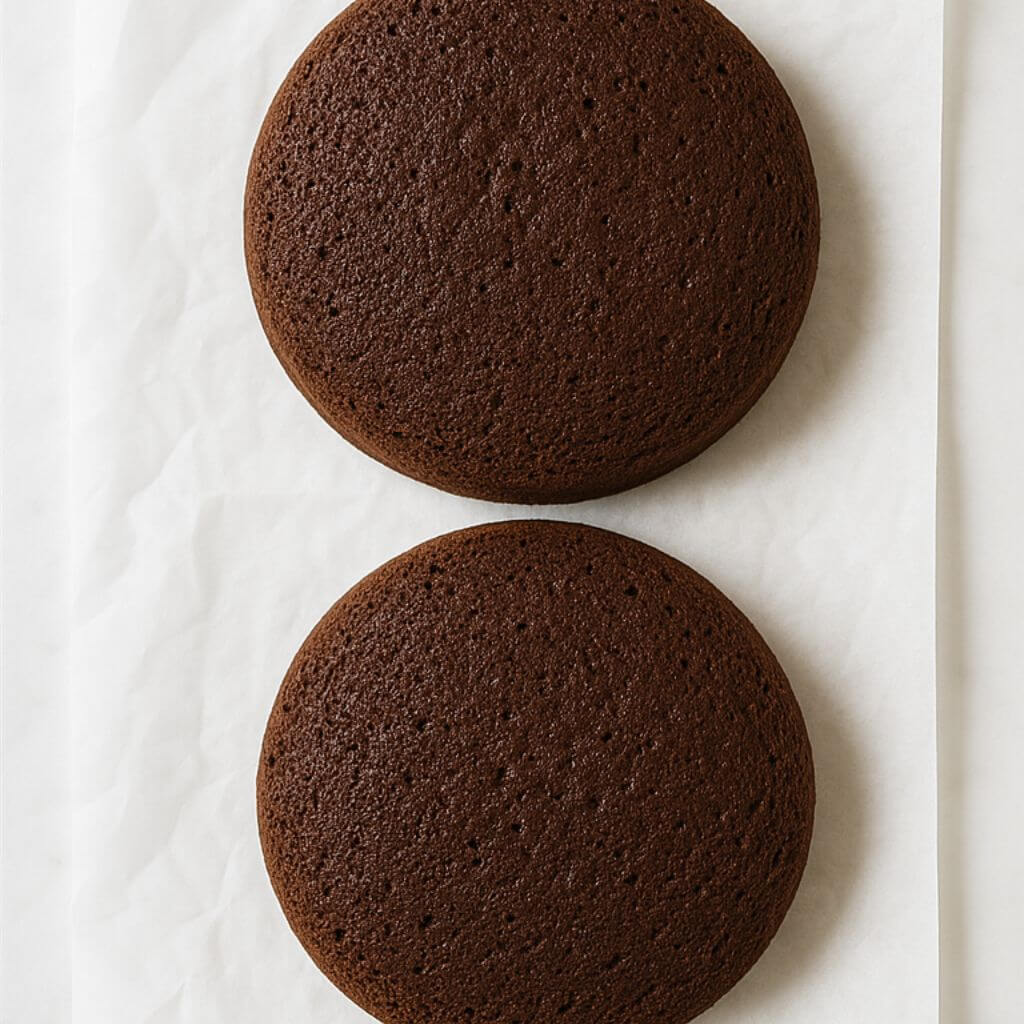
Step 6: Bake to Perfection
- Divide the batter evenly between the prepared pans. Smooth the tops with a spatula.
- Bake for 25-30 minutes or until a toothpick inserted comes out clean.
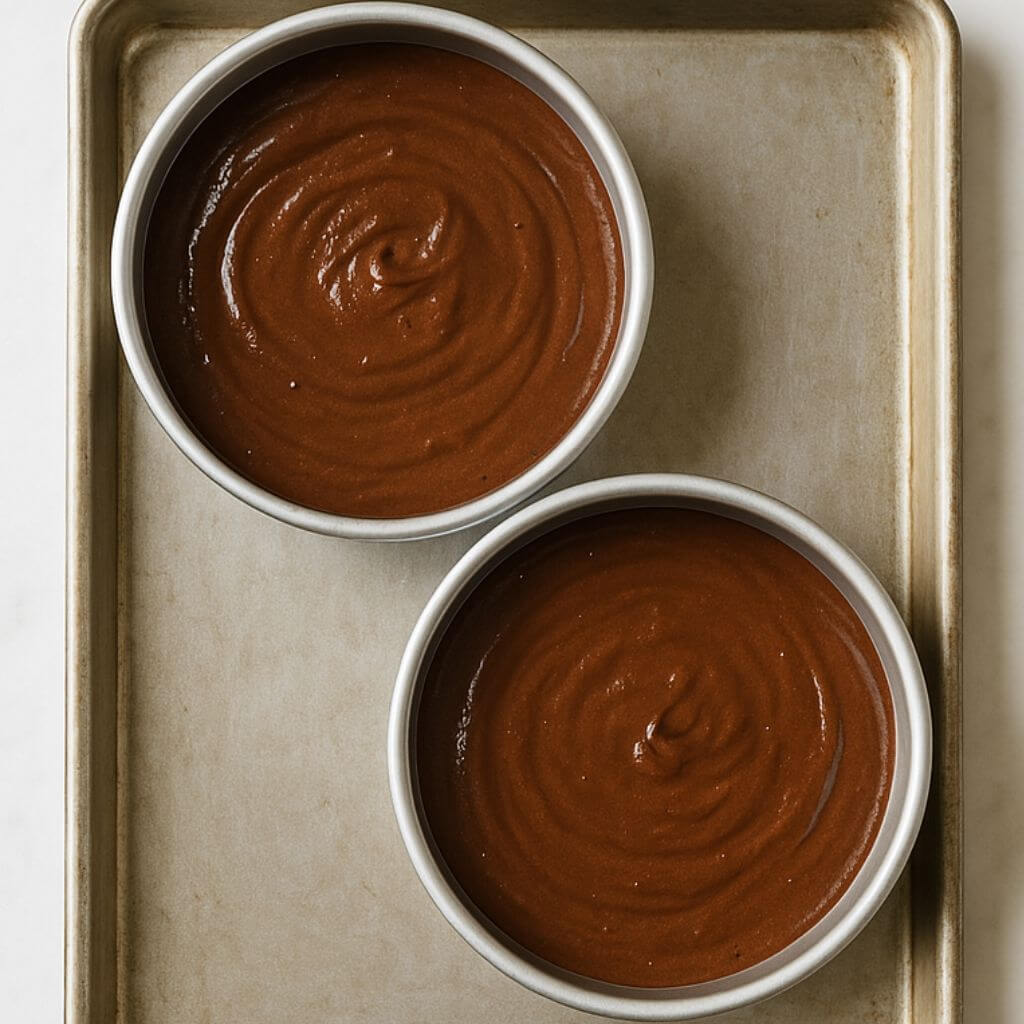
Pro Tip: Rotate the pans halfway through baking for even cooking.
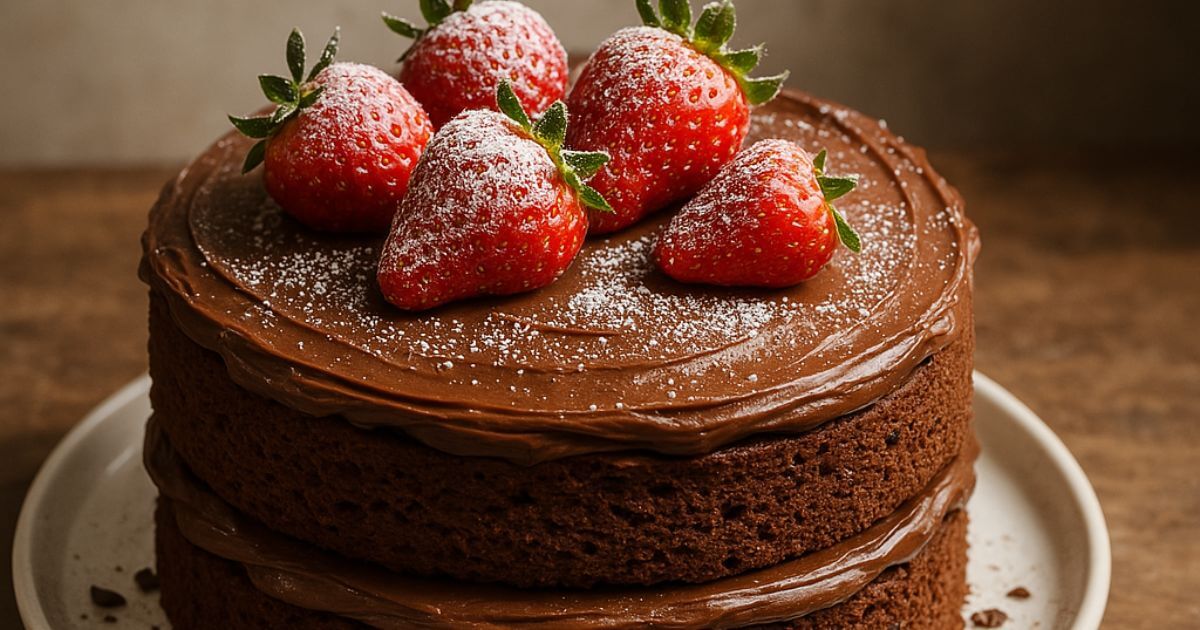
Assembly: Bringing Your Chocolate Sponge Cake to Life
Once your cakes are baked and cooled, it’s time to assemble!
- Level the Layers: Trim the tops of the cakes if they’ve domed slightly. This creates a flat surface for stacking.
- Add Filling: Spread your favorite frosting, whipped cream, or fruit preserves between the layers.
- Frost the Cake: Use a spatula or piping bag to cover the outside with more frosting. Get creative with swirls or sprinkles!
- Presentation Tips: Dust with powdered sugar, drizzle with melted chocolate, or garnish with fresh berries for a show-stopping finish.
Storage and Make-Ahead Tips
One of the best things about this Chocolate Sponge Cake Recipe is its flexibility. Here’s how to store and prep ahead:
- Room Temperature: Store unfrosted cakes in an airtight container for up to 2 days.
- Refrigerator: Frosted cakes stay fresh for 4-5 days when covered.
- Freezer: Wrap individual layers tightly in plastic wrap and freeze for up to 3 months. Thaw overnight in the fridge before assembling.
- Make-Ahead Hack: Prepare the batter a day ahead, refrigerate, and bake fresh the next day.
Recipe Variations: Customize Your Creation
Why stick to the basics when you can get adventurous? Try these ideas:
- Gluten-Free Version: Substitute all-purpose flour with almond or oat flour.
- Vegan Twist: Replace eggs with flax eggs and use plant-based milk.
- Flavor Boosters: Add espresso powder for intensified chocolate flavor or orange zest for a citrusy kick.
- Layer Cakes: Turn it into a trifle by layering pieces with pudding and whipped cream.
Conclusion: Your Journey to Baking Bliss Starts Now
There you have it—the ultimate guide to mastering the art of Chocolate Sponge Cake Recipe. With its quick prep time, foolproof instructions, and endless possibilities for customization, this recipe is sure to become a staple in your kitchen. So grab your apron, preheat that oven, and let your creativity shine. Happy baking!
FAQs:
Q1: Can I reduce the sugar in this Chocolate Sponge Cake Recipe?
Yes! You can cut the sugar by up to half, but keep in mind it may affect the cake’s texture slightly.
Q2: Is this cake healthy?
While it’s still a treat, using whole wheat flour, less sugar, and plant-based milk makes it a healthier option compared to store-bought cakes.
Q3: Why didn’t my cake rise properly?
Check your baking powder/soda for freshness. Also, avoid overmixing the batter, as this can prevent proper rising.
Q4: How do I keep my cake from sticking to the pan?
Always grease and line your pans with parchment paper. Cooling the cakes completely before removing also helps.
Q5: Can I use this recipe for cupcakes?
Absolutely! Fill cupcake liners ⅔ full and bake for 18-20 minutes.