Easy Rainbow Cookies Recipe for Beginners
Did you know sugar cookies date back to the 1700s? While colonial bakers relied on simple ingredients, we’ve cranked up the fun with rainbow hues that’ll make your dessert table Instagram-famous. Compared to our Classic Vanilla Sugar Cookies, this recipe swaps plain for playful, proving that a little food coloring can turn tradition into magic. Whether you’re baking with kids, hosting a party, or just craving a dose of happiness, these cookies deliver. Ready to paint your kitchen with color? Let’s bake!
Table of Contents
What Are Easy Rainbow Cookies?
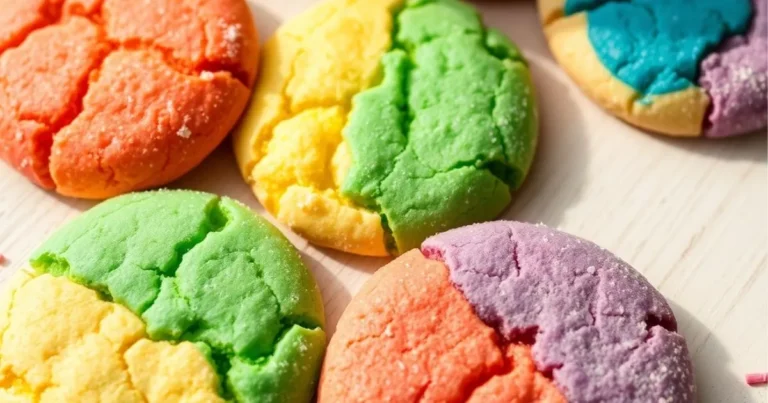
Why call them “rainbow” cookies? Is it because they’re as bright as a unicorn’s daydream or because they vanish as quickly as a pot of gold? (Spoiler: Both.) These colored sugar cookies are like edible confetti—soft, buttery, and speckled with every shade of the rainbow. The name isn’t just about looks; it’s a promise of fun. Legend says the way to someone’s heart is through their stomach, and these cookies? They’re a direct route to everyone’s heart.
Got a birthday, holiday, or random Tuesday to celebrate? These cookies turn any occasion into a fiesta. And don’t worry—no artistic skills needed! Even if your “rainbow” ends up looking more like abstract art, they’ll taste like heaven. Ready to spread joy one colorful bite at a time? Let’s grab that mixing bowl!
Why You’ll Love This Recipe
- Rainbow Magic in Minutes: These cookies are stupidly easy. No chilling dough, no complicated steps—just mix, color, bake, and dazzle.
- Wallet-Friendly Fun: Store-bought rainbow cookies cost a small fortune. This recipe uses pantry staples, and a $3 food coloring kit lasts for batches!
- Customizable Joy: Roll them in sprinkles, dip them in chocolate, or add glittery sanding sugar. They’re a blank canvas for your wildest ideas.
If you loved our Unicorn Sprinkle Cookies, you’ll adore this recipe’s simplicity. It’s baking without the stress, creativity without the mess. Trust us: One bite, and you’ll be the rainbow cookie evangelist your friends never knew they needed.
How to Make Easy Rainbow Cookies
Quick Overview: Whip up soft sugar cookie dough, divide into batches, color with gel food coloring, roll into balls, and bake. Done in 25 minutes!
Key Ingredients (Makes 24 cookies):
- 2½ cups all-purpose flour
- 1 cup unsalted butter (softened)
- ¾ cup granulated sugar
- 1 egg + 1 yolk
- 2 tsp vanilla extract
- ½ tsp baking powder
- ¼ tsp salt
- Gel food coloring (red, orange, yellow, green, blue, purple)
Step-by-Step Instructions:
- Mix Dough: Beat butter and sugar until fluffy. Add egg, yolk, and vanilla. Mix dry ingredients in a separate bowl, then combine.
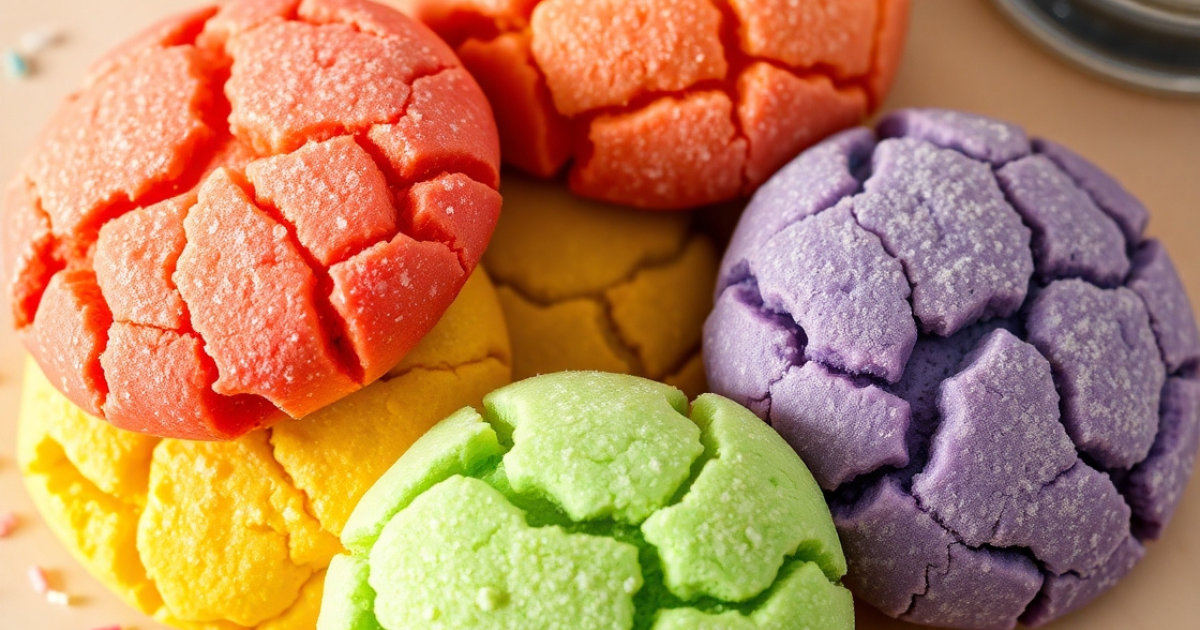
- Color It: Divide dough into 6 balls. Add a pea-sized drop of gel color to each; knead until vibrant.
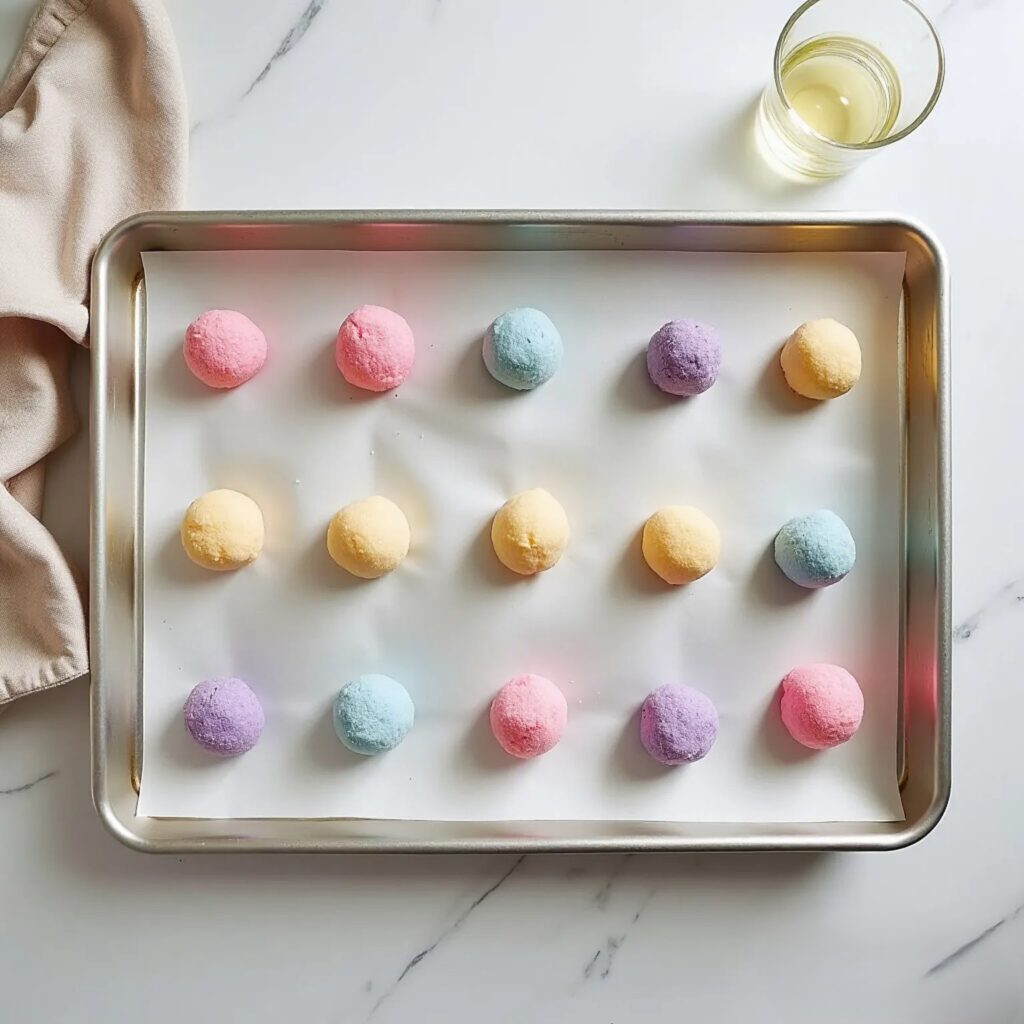
- Roll & Bake: Roll each color into 1-inch balls. Place on parchment-lined trays, 2 inches apart. Bake at 350°F for 10–12 minutes.
- Cool & Devour: Let cool 5 minutes. Serve plain or decorate!
What to Serve With Rainbow Cookies
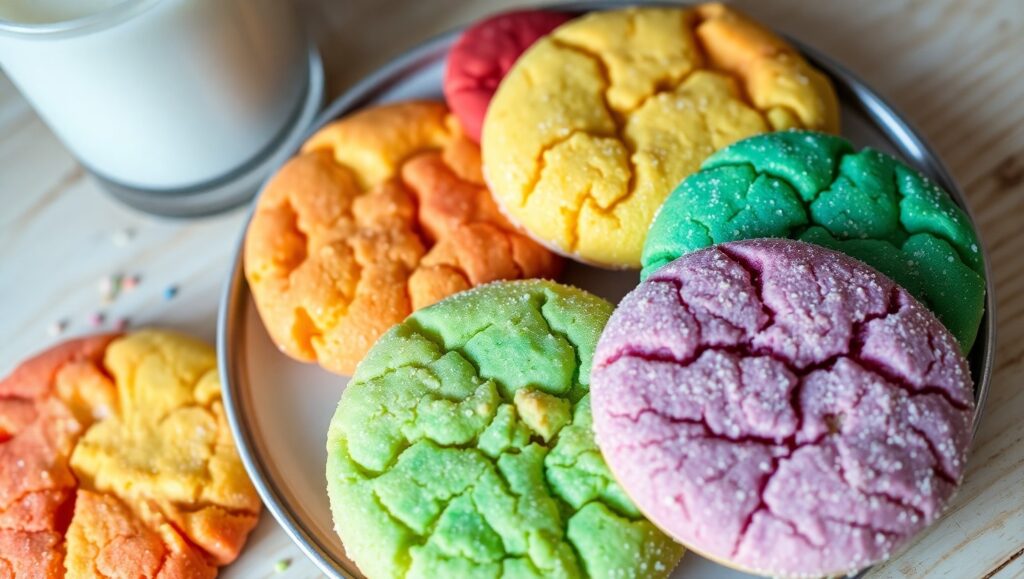
- Milk or Hot Cocoa: Classic dunking partners.
- Vanilla Ice Cream: Sandwich cookies between scoops!
- Fruit Platter: Balance sweetness with berries or citrus.
Top Tips for Perfect Cookies
- Gel Over Liquid: Gel colors give bold hues without watering down dough.
- Don’t Overmix: Stop once flour is incorporated for tender cookies.
- Uniform Sizes: Use a cookie scoop to ensure even baking.
Storing & Reheating
- Store: Keep in an airtight container for up to 1 week.
- Freeze: Dough balls freeze well for 3 months. Bake straight from frozen (+1–2 minutes).
- Refresh: Stale cookies? Pop in a 300°F oven for 3 minutes!
FAQs: Your Rainbow Cookie Questions, Answered!
Got questions? We’ve got answers! Here’s everything beginners (and cookie enthusiasts!) need to know about mastering these colored sugar cookies:
1. Can I use liquid food coloring instead of gel?
Technically, yes—but we strongly recommend gel food coloring. Liquid dyes can water down the dough, making cookies spread too thin or lose their soft texture. Gel colors pack a vibrant punch without messing with the recipe’s balance. If you’re in a pinch, use liquid sparingly (think: 2–3 drops max per color).
2. Why did my cookies turn out crispy instead of soft?
Overbaking is the usual culprit! These cookies bake FAST—they’re done when the edges just start to turn golden (even if the centers look slightly underdone). They’ll firm up as they cool. Also, check your oven temperature with a thermometer; ovens often run hotter than they claim.
3. Can I make the dough ahead of time?
Absolutely! Prepare the dough, divide and color it, then wrap each ball in plastic wrap. Refrigerate for up to 3 days or freeze for 3 months. Let chilled dough sit at room temp for 15 minutes before rolling and baking.
4. How do I prevent colors from bleeding together?
Work quickly when rolling dough balls, and wash your hands between colors. If your kitchen is warm, pop the colored dough portions in the fridge for 10 minutes to firm up before shaping.
5. Are these cookies kid-friendly?
100%! Little hands love squishing the dough and mixing colors. For extra safety, use natural food dyes (like beet powder or turmeric) if you’re avoiding artificial colors.
6. Can I make these gluten-free or vegan?
Gluten-free: Swap all-purpose flour 1:1 with a GF blend (we love King Arthur’s).
Vegan: Use plant-based butter and replace the egg + yolk with ¼ cup unsweetened applesauce or a flax egg.
7. My cookies spread too much—what went wrong?
Possible reasons:
- Butter was too soft (it should be slightly cool to the touch).
- Dough was overmixed (develops gluten, leading to spread).
- Oven wasn’t preheated (always preheat for 10–15 minutes!).
8. Can I skip the rainbow and use just one color?
Of course! Turn these into unicorn cookies with pastels or go bold with a single neon shade. They’re your cookies—rule the rainbow (or ditch it)!